Working with z/OS data sets
Working with z/OS data sets
Using the plug-in, it is possible to:
- create, rename, view, edit, delete PS, PDS, PDS/e data sets, as well as PDS and PDS/e members
- use the feature Allocate Like to create a data set with parameters of the other data set
- use the feature Migrate and Recall for archived data sets
- submit JCL jobs with Submit Job option
- copy, move z/OS data sets, both inside the filesystem, and between them, as well as between systems with different IP address
- sort data sets
After you set up a Files Working Set and create a mask to display data sets on the z/OS part, it is possible to manipulate PS, PDS and PDS/E data sets
Allocating a data set
To allocate a data set:
- Right-click on any entity, related to z/OS data sets (it could be Files Working Set, z/OS data sets mask, any other data set or member)
- Select New -> Dataset

- Specify the necessary fields. There are some custom options to help with specifying the data set parameters:
- Choose preset (1) - the option provides the most commonly used data set presets both for PS and PDS options. Selecting on of the presets will automatically setup all the necessary fields to create the selected type of a data set (the presets are described more later)
- Dataset name (2) - the name of the data set to be created. It automatically provides the template of the data set name with the user's HLQ as the starting string and .<CHANGEME> string that is intended to be changed by the user
- Dataset organization (3) - the data set organization to be used. The options are: PS (Physical Sequential), PO (Partitioned Organization) and PO-E (Partitioned Organization - Extended)
- Allocation unit hint (4) - a small UI improvement hint for better understanding the allocation units and their relative values to each other
All the other parameters are the same as the z/OS provides to allocate a new data set. In the Advanced Parameters section, there are some additional fields to setup if your prefer to set yourself such things as Volume, Device Type, Storage class, etc.

If you want to choose a preset, there are 5 options available for now:
- Custom Dataset (1) - all the fields are set by the user
- Sequential Dataset (2) - the fields are set to allocate a template PS data set
- PDS Dataset (3) - the fields are set to allocate a template PDS data set
- PDS with empty member Dataset (4) - the fields are set to allocate a template PDS data set with an empty member inside
- PDS with sample JCL member Dataset (5) - the fields are set to allocate a template PDS data set with a member with a template JCL job inside

- After specifying all the necessary fields, click OK

- When the data set is allocated, the plug-in will suggest creating a mask to display the data set created under. Click Add mask (1) to add the mask and Skip (2) to skip the mask creation
Working with z/OS PS data sets
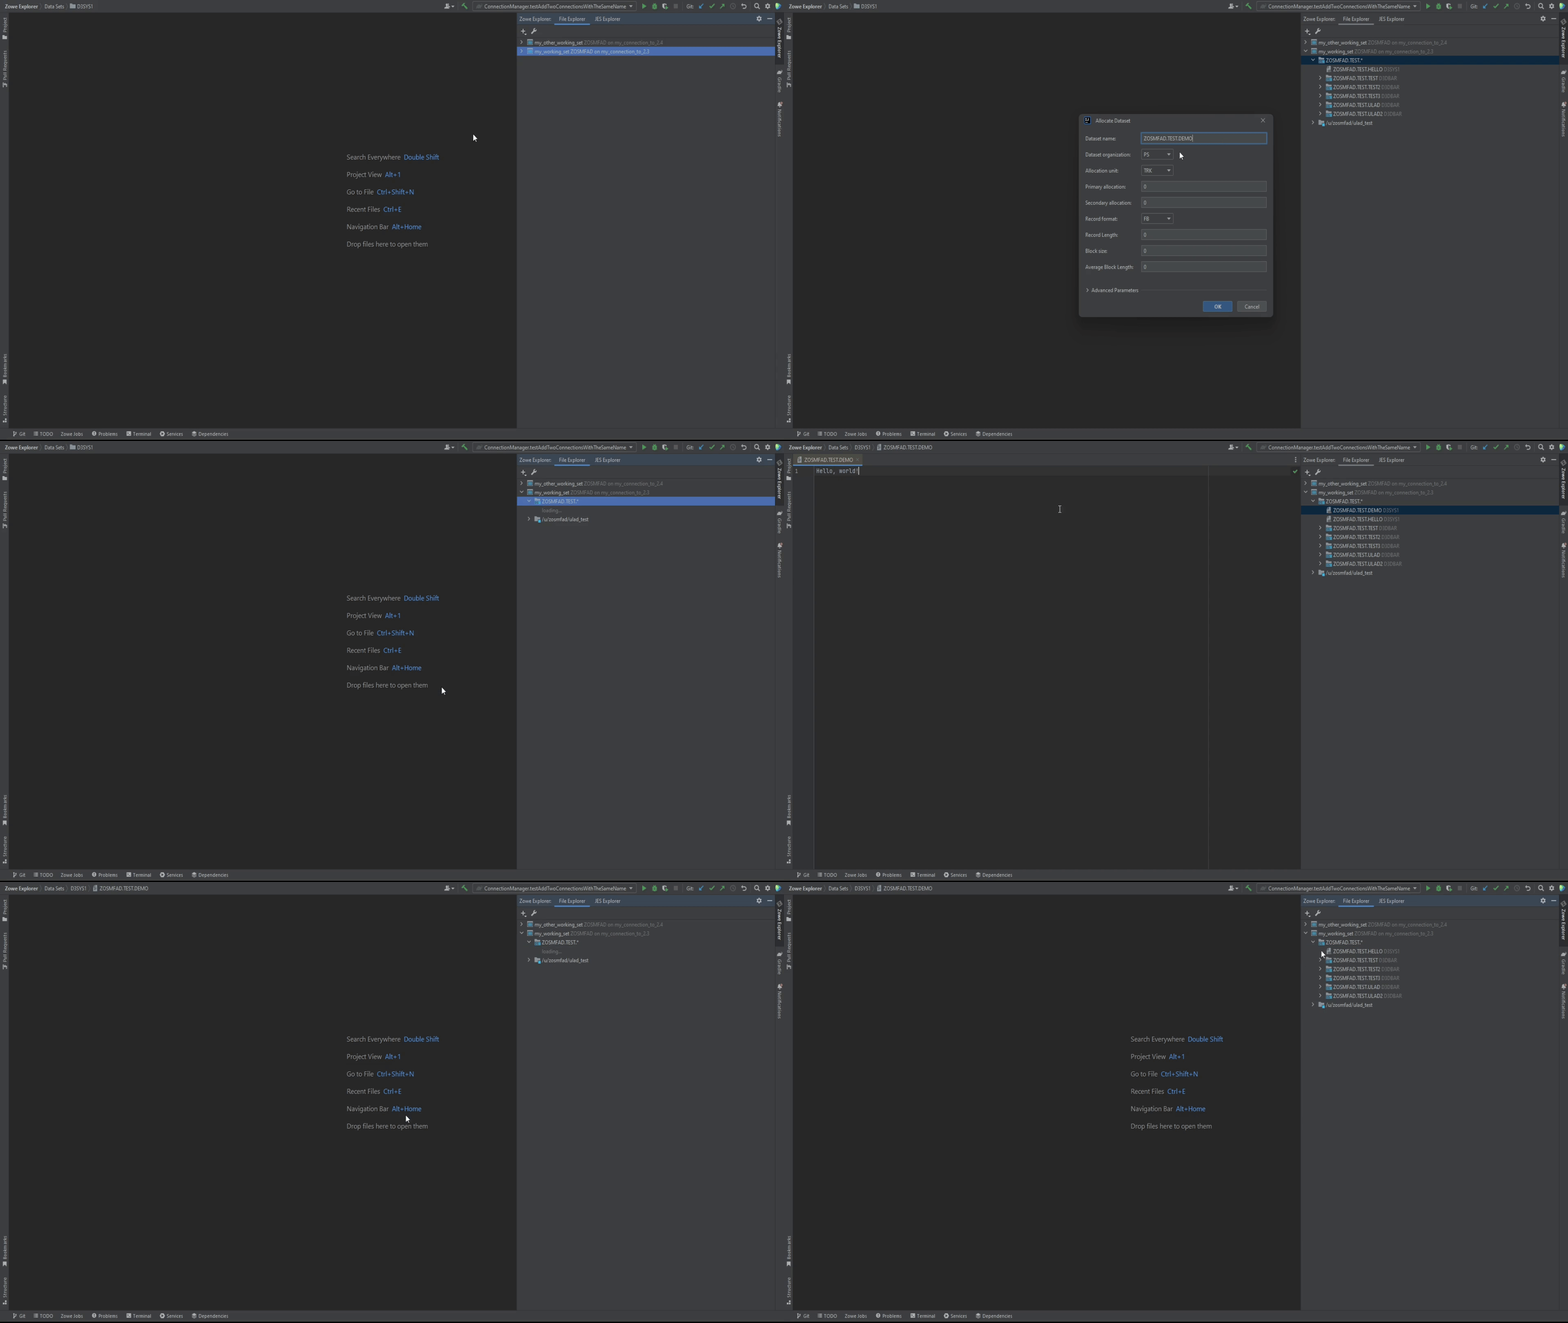
Here you can see a possible scenario of working with PS data sets

Working with z/OS PDS / PDS/E data sets
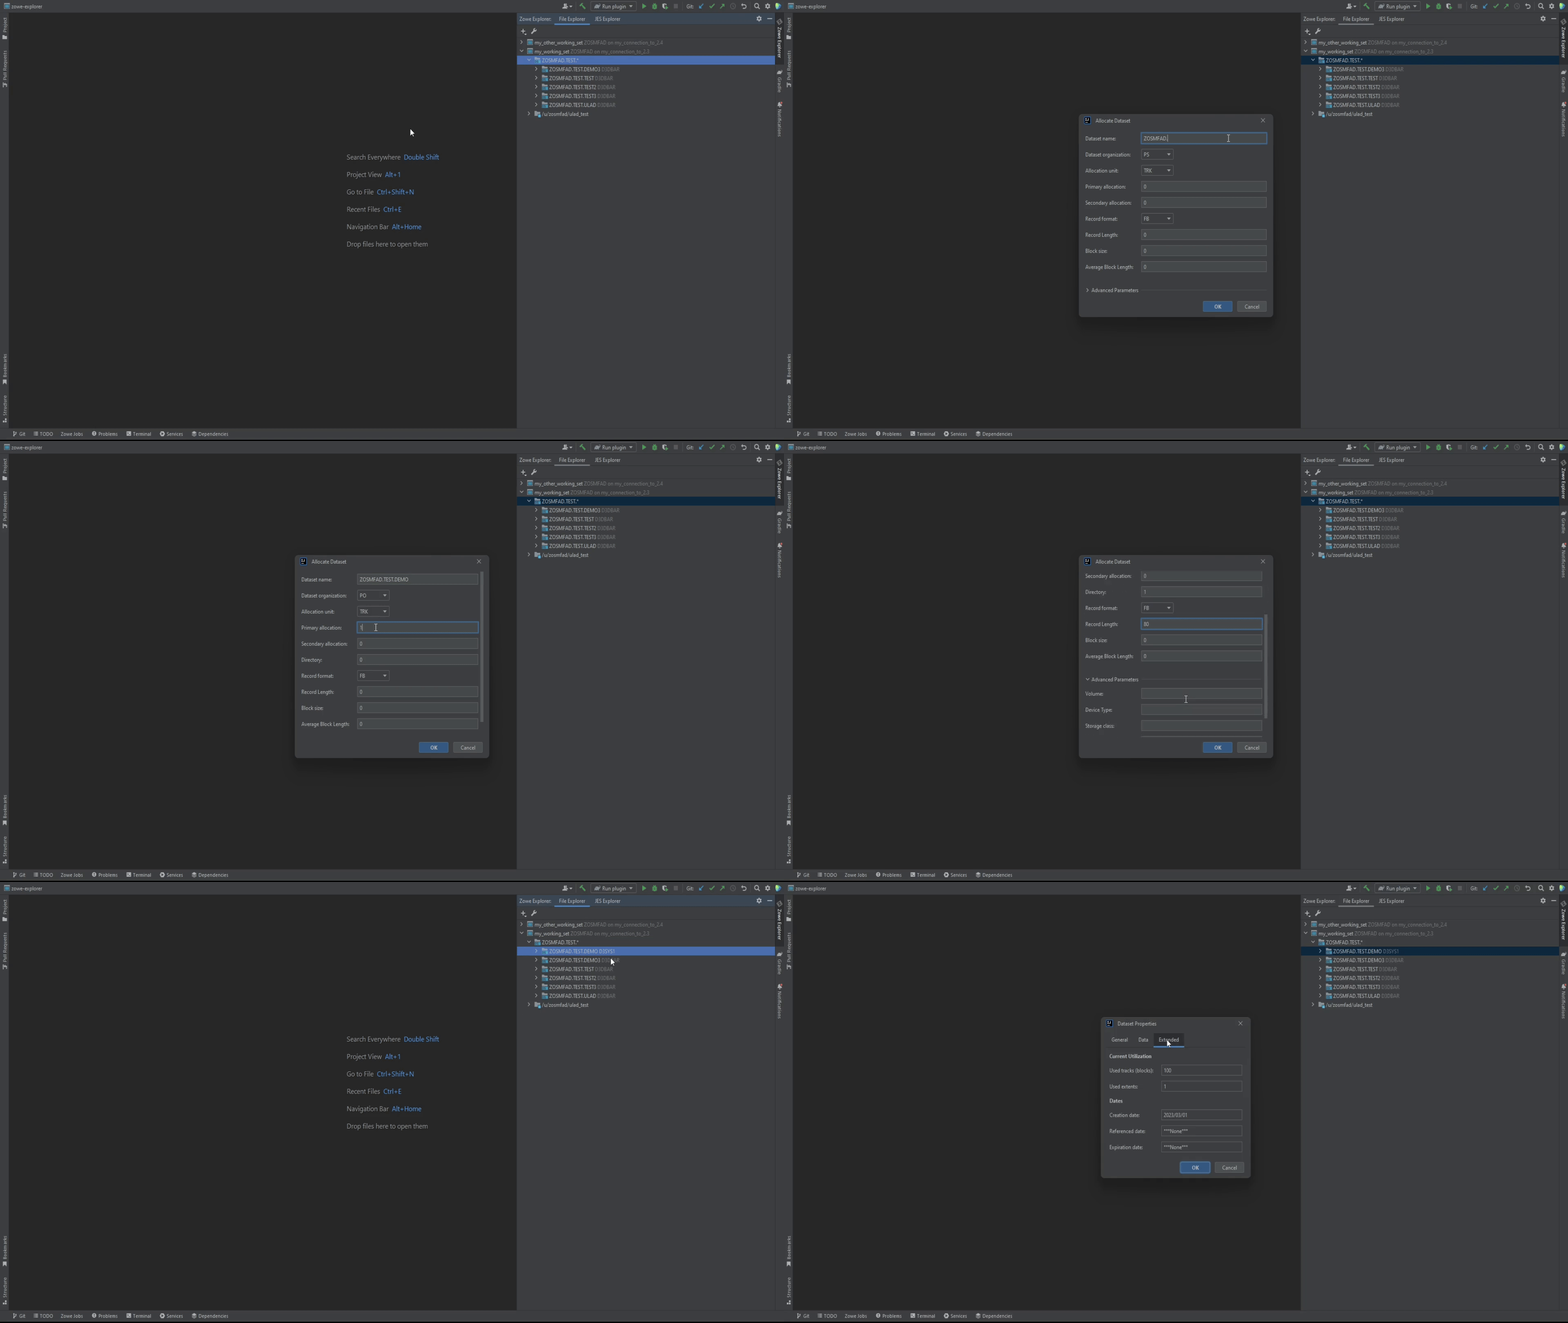
Here you can see a possible scenario of working with PDS / PDS/E data sets

"Allocate Like" feature
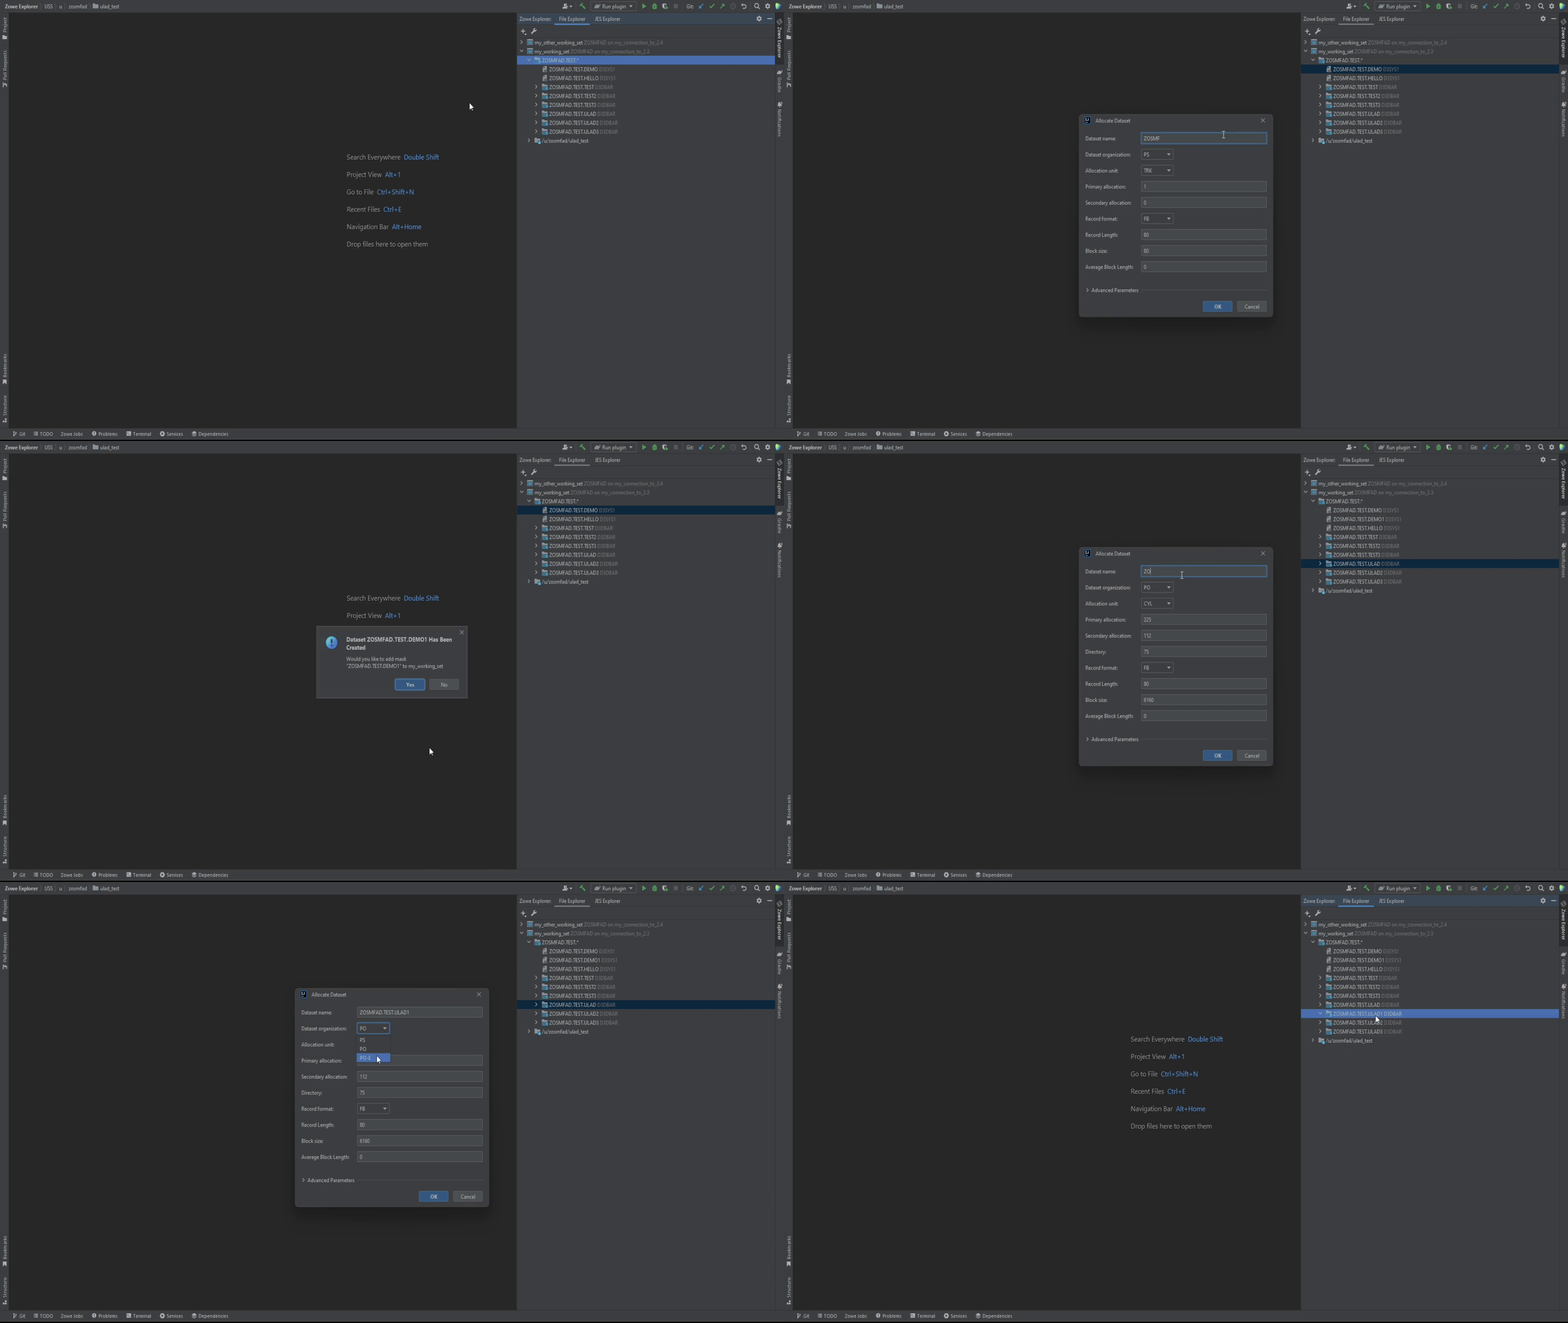
To issue the Allocate Like, right-click on any of data sets and select Allocate Like.

"Submit Job" feature
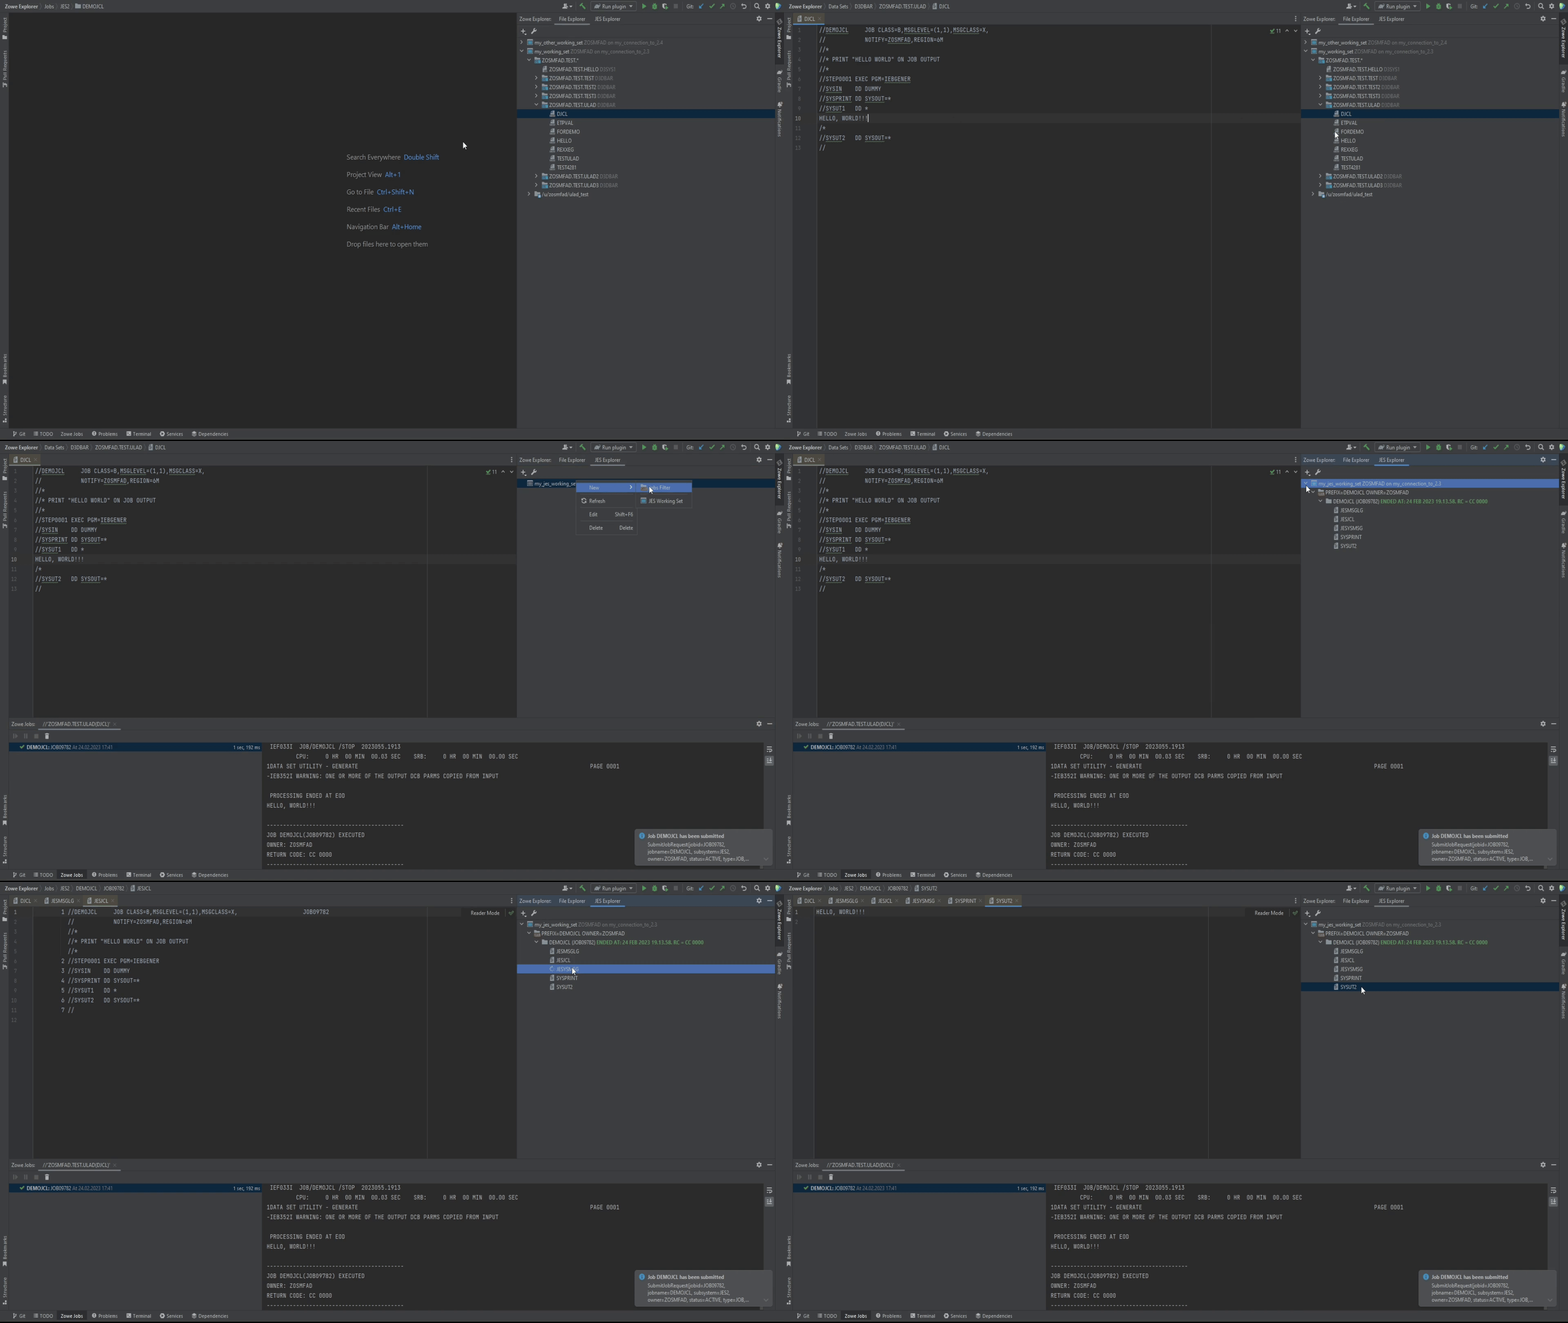
To issue the Submit Job, right-click on any of PS data sets or PDS / PDS/E members and select Submit Job.

Sort a data sets mask
To sort z/OS data sets list:
- Right click on a data sets mask, select Sort. The list of sorting options will appear:
- Dataset Name (1) - to sort by data set names
- Dataset Type (2) - to sort by data set types (PS / PO / PO-E)
- Dataset Modification Date (3) - to sort by data set modification date and time. Data sets list is sorted by this option by default
Also, there is a possibility to change the order for the items to be displayed: Ascending (4) (by default) or Descending (5). For the example purposes, select Dataset Name

- The list will be refreshed with the new sort order
