Installing Zowe Explorer
Installing Zowe Explorer
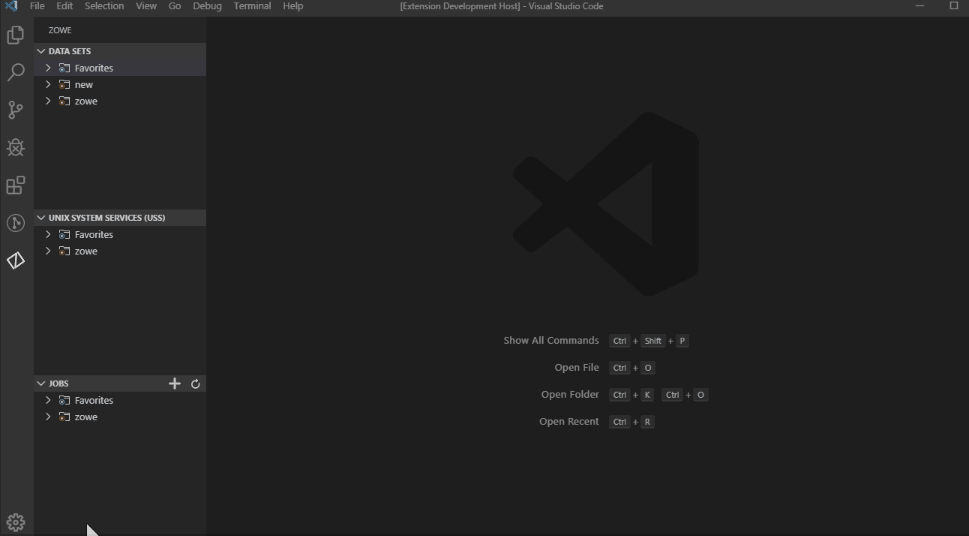
The Zowe Explorer extension for Visual Studio Code (VSCode) modernizes the way developers and system administrators interact with z/OS mainframes, and lets you interact with data sets, USS files and jobs. Install the extension directly to VSCode to enable the extension within the GUI. Working with data sets and USS files from VSCode can be more convenient than using 3270 emulators, and complements your Zowe CLI experience. The extension provides the following benefits:
- Enables you to create, modify, rename, copy, and upload data sets directly to a z/OS mainframe.
- Enables you to create, modify, rename, and upload USS files directly to a z/OS mainframe.
- Provides a more streamlined way to access data sets, USS files and jobs.
- Lets you create, edit, and delete Zowe CLI
zosmfcompatible profiles. - Lets you use the Secure Credential Store plug-in to store your credentials securely in the settings.
Note: Zowe Explorer is a subcomponent of Zowe. The extension demonstrates the potential for plug-ins powered by Zowe.
Software Requirements
Ensure that you meet the following prerequisites before you use the extension:
-
Get access to z/OSMF.
-
Install Node.js v8.0 or later.
-
Install VSCode.
-
Configure TSO/E address space services, z/OS data set, file REST interface, and z/OS jobs REST interface. For more information, see z/OS Requirements.
-
Create one Zowe CLI
zosmfprofile so that the extension can communicate with the mainframe.Notes:
i. You can use your existing Zowe CLI
zosmfprofiles that are created with the Zowe CLI v.2.0.0 or later.ii. Zowe CLI
zosmfprofiles that are created in Zowe Explorer can be interchangeably used in the Zowe CLI.
Installing
-
Address the software requirements.
-
Open VSCode, and navigate to the Extensions tab on the left-hand side of the UI.
-
Type Zowe Explorer in the search field.
Zowe Explorer appears in the list of extensions in the left-hand panel.
-
Click the green Install button to install the extension.
-
Restart VSCode.
The extension is now installed and available for use.
- Note: For information about how to install the extension from a
VSIXfile and run system tests on the extension, see the Developer README.
You can also watch the following videos to learn how to get started with Zowe Explorer, and work with data sets.
Configuration
Configure Zowe Explorer in the settings file of the extension. To access the extension settings, navigate to Manage (the gear icon) > Settings, then select Extensions > Zowe Explorer Settings. For example, you can modify the following settings:
-
Data set creation settings: You can change the default creation settings for various data set types.
Follow these steps:
- Click the Edit in settings.json button under the Data Set, USS or JOBS settings that you want to edit.
- Edit the settings as needed.
- Save the settings.
-
Set the Temporary Folder Location: You can change the default folder location where temporary files are stored.
Follow these steps:
- Click the Edit in settings.json button under the Data Set, USS or JOBS settings that you want to edit.
- Modify the following definition:
"Zowe-Temp-Folder-Location": {
    "folderPath": "/path/to/directory"
  }
where /path/to/directory is the folder location that you specify.
- Save the settings.
Relevant Information
In this section you can find useful links and other relevant to Zowe Explorer information that can improve your experience with the extension. Check the following links:
- For information about how to develop for Eclipse Theia, see Theia README.
- For information about how to create a VSCode extension for Zowe Explorer, see VSCode extensions for Zowe Explorer.
- Visit the #zowe-explorer channel on Slack for questions and general guidance.